Introduction
Imagine snuggling up on a chilly evening enveloped in the unparalleled softness and warmth of a self-made chenille blanket. The tactile experience is akin to a gentle caress, inviting you into a realm of cozy tranquility. Creating a chenille blanket is not just a craft; it’s an art form that can transform a room into a sanctuary of comfort and elegance. Embark on a journey of creativity and unlock the secrets of this plush textile with our comprehensive guide.

Image: www.momdot.com
A History of Chenille Charm
Chenille, from the French word for “caterpillar,” derives its name from its distinctive, fuzzy, caterpillar-like texture. Its origins can be traced back to the 18th century, where it adorned the opulent garments of royalty and the elite. Today, chenille blankets continue to exude a timeless charm while providing unmatched comfort in homes around the world.
Essential Materials for Your Chenille Masterpiece
Before unraveling the steps to creating your own chenille masterpiece, gather the essential materials:
- Premium chenille yarn (an assortment of colors to suit your vision)
- Tapestry needle with a large eye
- Fabric scissors
- Measuring tape
- Washable fabric marker (optional)
Unlocking the Secrets of Chenille Creation
1. Designing Your Dream Blanket:
Unleash your creativity and visualize the desired dimensions and patterns for your chenille blanket. Whether it’s a classic solid hue, vibrant stripes, or intricate geometric designs, the possibilities are endless.
2. Cutting Yards of Yarn:
Determine the length of yarn needed based on the blanket’s dimensions. Cut multiple strands of each color, ensuring they’re equal in length. For a plush, luxurious blanket, aim for around 200 strands per 12 inches of width.
3. Separating and Aligning:
Divide the cut strands into smaller bundles of 8-10 strands each. Arrange them neatly, ensuring they’re aligned parallel to each other.
4. The Magic of Knotting:
Take the first bundle and fold it in half. Thread the tapestry needle through the loop and pull it back through the center of the loop, creating a secure knot.
5. Continue the Knotting Sequence:
Repeat step 4 for all the remaining yarn bundles, spacing them evenly along the edge of the blanket. Once all the knots are tied, you’ll have a beautiful, textured chenille fringe.
6. Connecting the Fringe Panels:
If making a larger blanket, join the chenille fringe panels by sewing them together with yarn or fabric glue. Ensure the knots are facing the same direction for a uniform finish.
7. Adding Personal Touches (Optional):
For an extra touch of personalization, consider embroidering initials, names, or meaningful motifs onto the fabric using a washable fabric marker or embroidery thread.
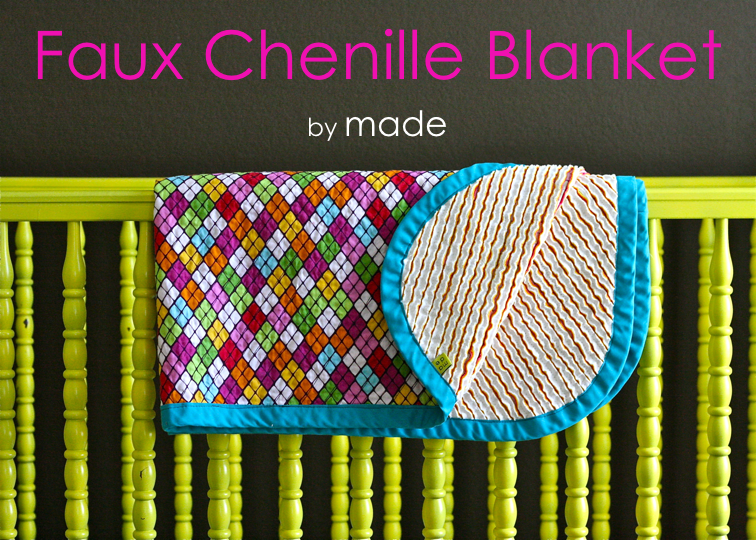
Image: www.madeeveryday.com
How To Make A Chenille Blanket
Conclusion
Embark on this fulfilling journey of creating a chenille blanket, and immerse yourself in the exquisite comfort it offers. Whether it’s a cherished personal project or a thoughtful gift for loved ones, this labor of love will undoubtedly bring warmth and happiness for years to come. Explore our comprehensive guide, experiment with different designs and colors, and experience the profound satisfaction of transforming yarn into a tactile masterpiece.


